If you are using Super Socializer or Heateor Social Login plugin for Social Login, follow the steps mentioned below to enable Google Login or Youtube Login at your WordPress website.
Steps To Enable Google Login
- Navigate to Google Cloud Console and login to your Google account if required.
- If this is your first app, you will need to “Create a project” and also might need to accept Terms and Conditions. If you do not see this page, move to step 3.

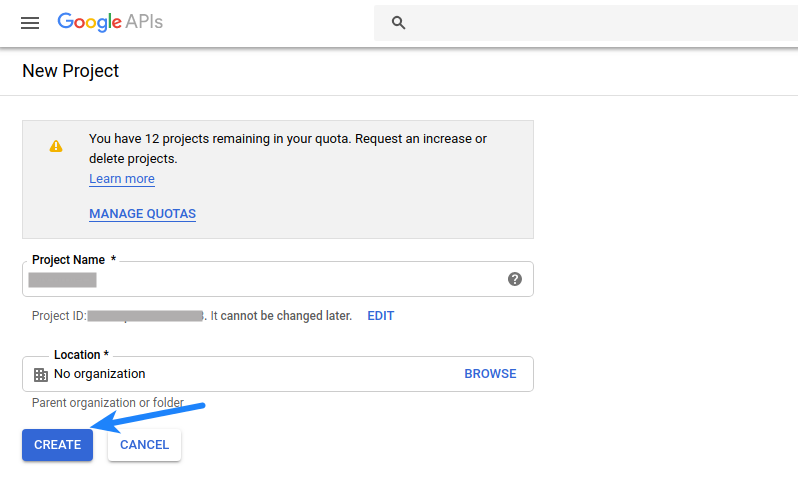
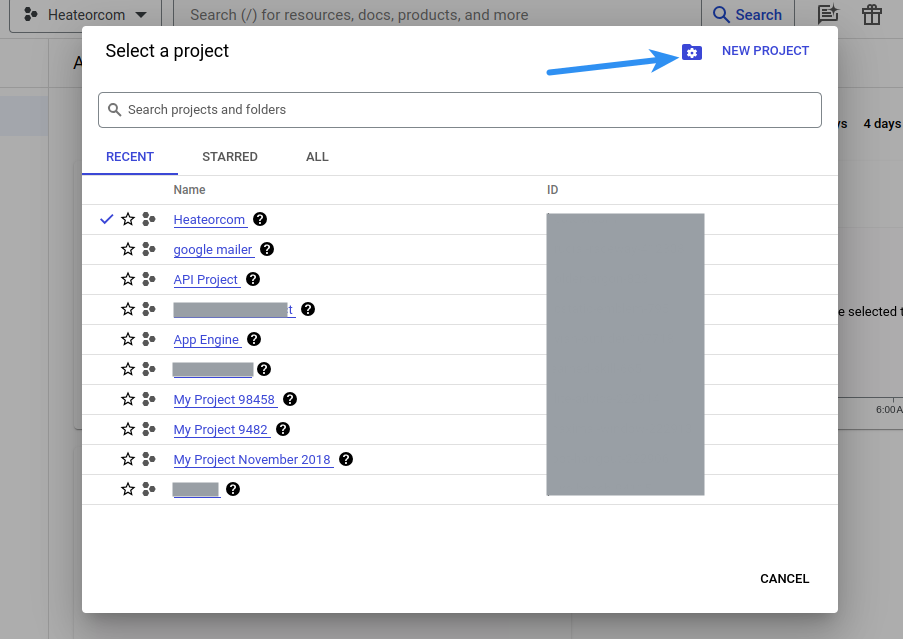
- If you have created apps before, you will be able to see the list of projects after clicking the dropdown in the top menu. You can also create a new project by clicking the New Project button.
Click the name of the project for which you want to create the app. If you are not seeing this screen, skip to the next step.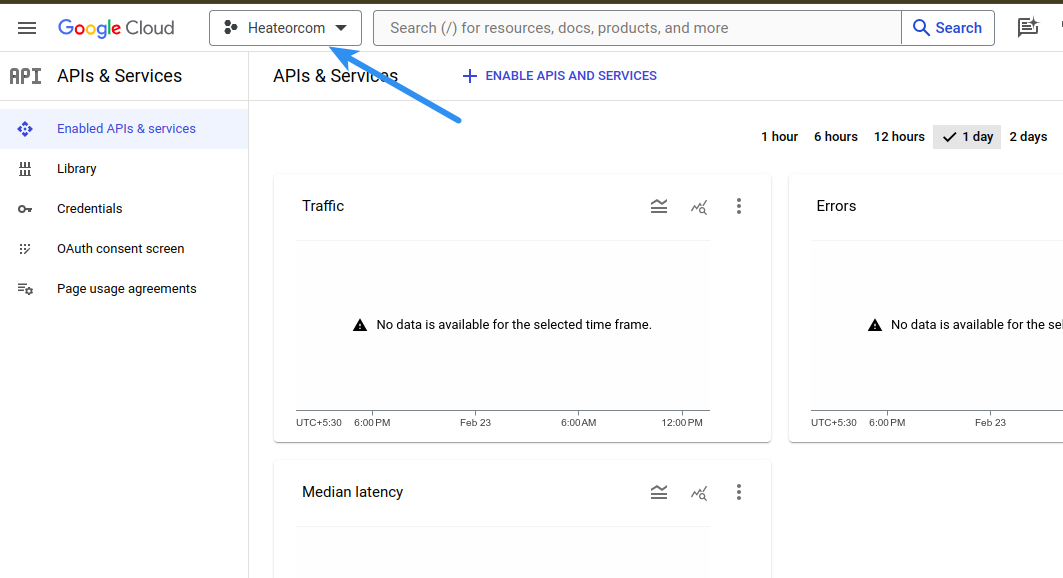
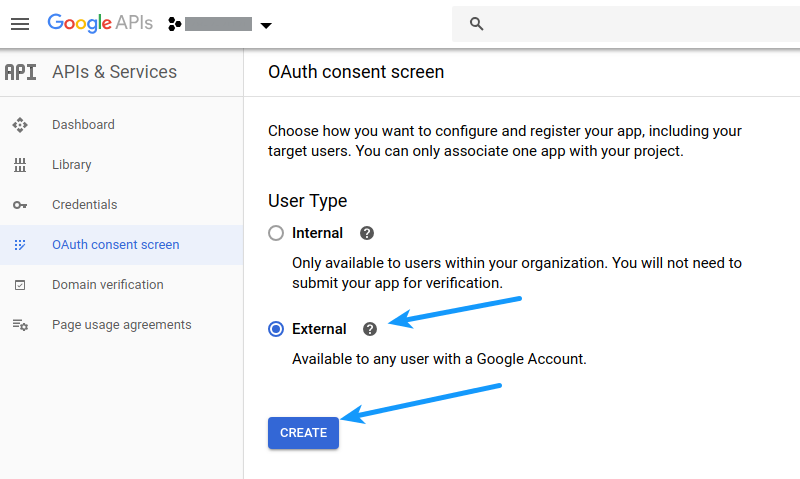
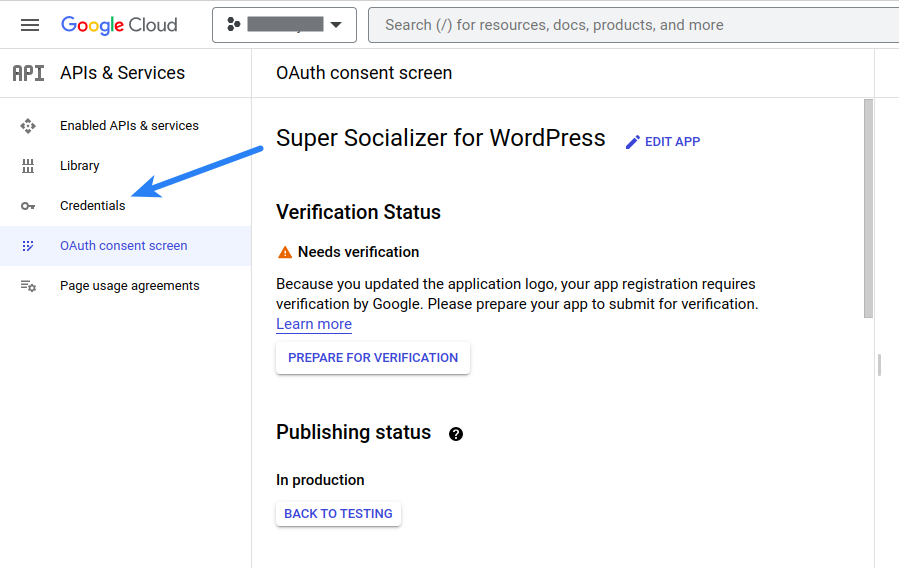
- Navigate to APIs and Services > OAuth consent screen section from the menu in the left side

- If you see the following screen, select External in User Type and click Create button, else move to next step
- Fill the fields as described below. If you don’t see this screen, skip to step 7
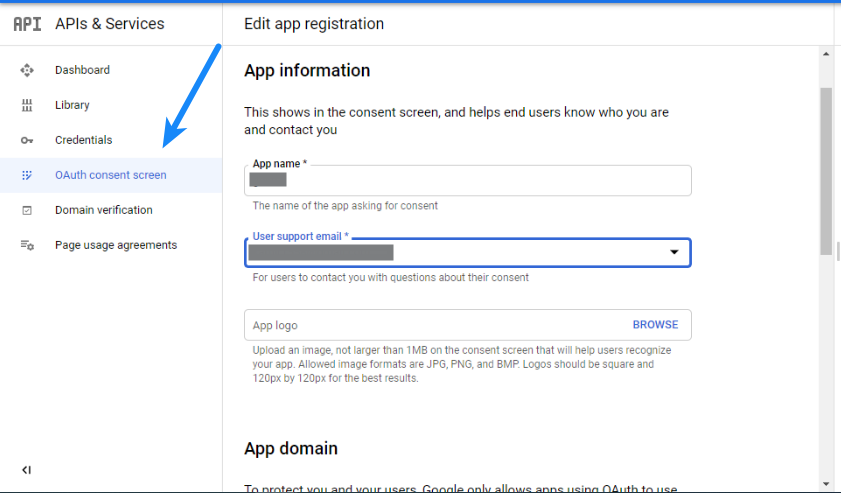
App name: Specify the name of your app (You can enter whatever name you like, but it’s recommended to enter your website or company name in this field)
App Logo: (Optional) Upload logo representing your website with which you are going to integrate social login.
Note: If you upload logo, you need to get your app verified by Google
User support email: Select/Specify email
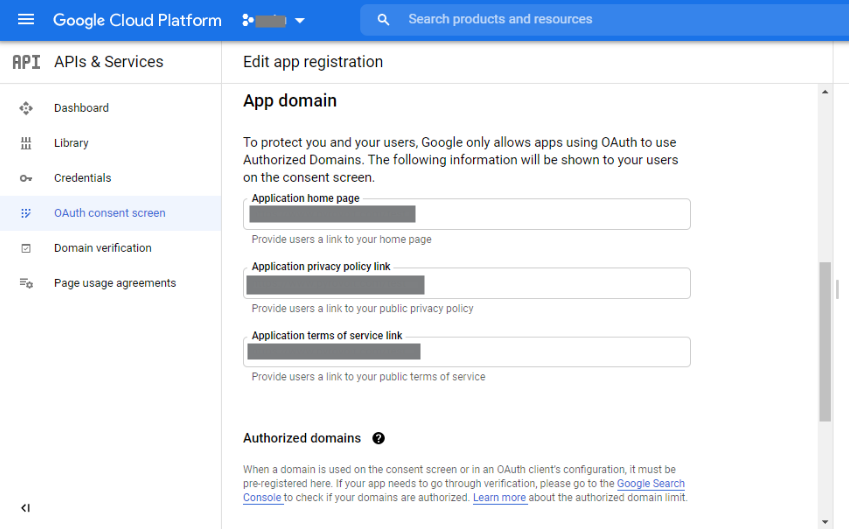
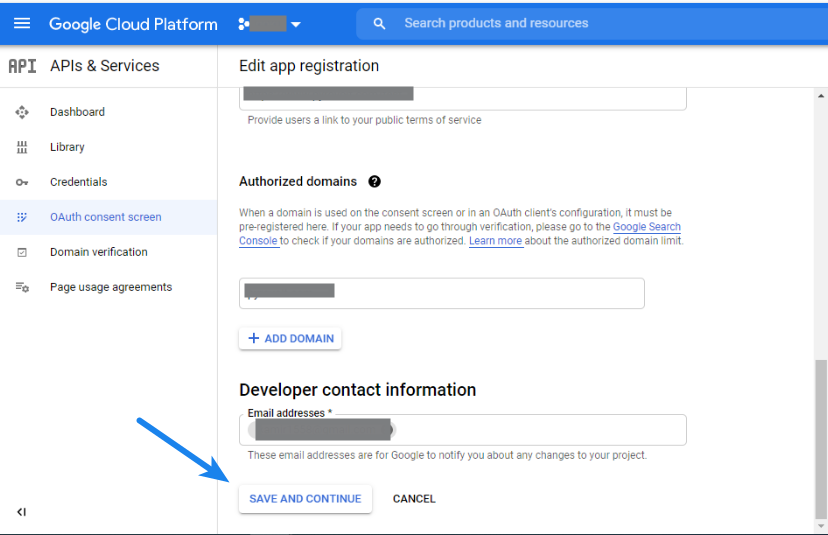
Authorized domains: Specify your website domain. For example, if your website homepage url is www.mywebsite.com or mywebsite.com, you have to save mywebsite.com. After entering the domain name, click outside the textbox otherwise it won’t be saved. You can fill other optional fields.
Optionally, you can fill remaining fields.
Click Save and continue button. - Navigate to the Credentials section, click OAuth Client ID after clicking CREATE CREDENTIALS button
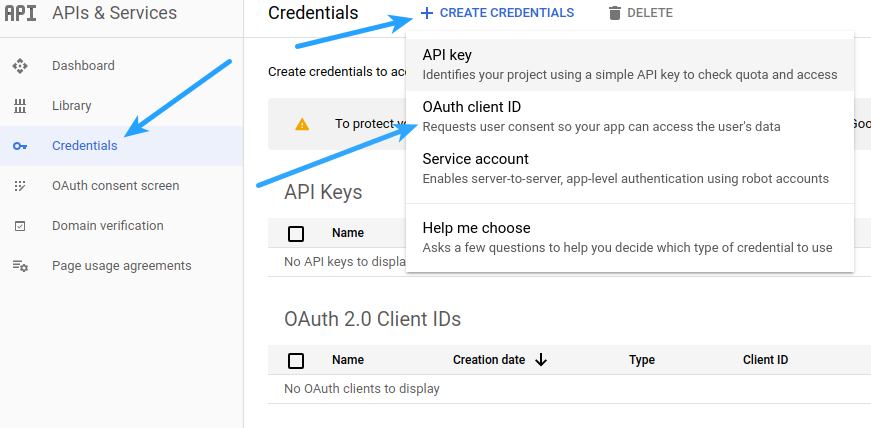
- Fill the fields as described below
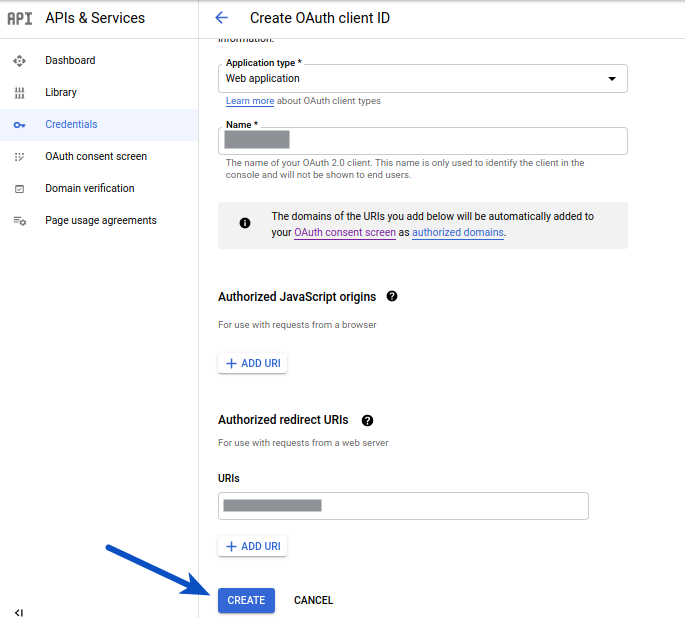
- Application type: Select Web application
- Name: Specify the name of your app (You can enter whatever name you like, but it’s recommended to enter your website or company name in this field)
- Authorized JavaScript origins: Leave empty
- Authorized redirect URIs: Open your website homepage (at which you have installed the plugin) in browser, click the address bar so that website url gets highlighted, copy this url and paste it in this option. Please make sure that this url includes http:// or https:// (for example: http://mywebsite.com or http://www.mywebsite.com). There shouldn’t be trailing slash in this url. After entering the url, hit Enter key otherwise it won’t be saved.
- Click Create button
- Copy Client ID and Client Secret and paste these in the Google Client ID and Google Client Secret options of your plugin, respectively. Do not forget to Save Changes after configuring all the options on plugin settings page.

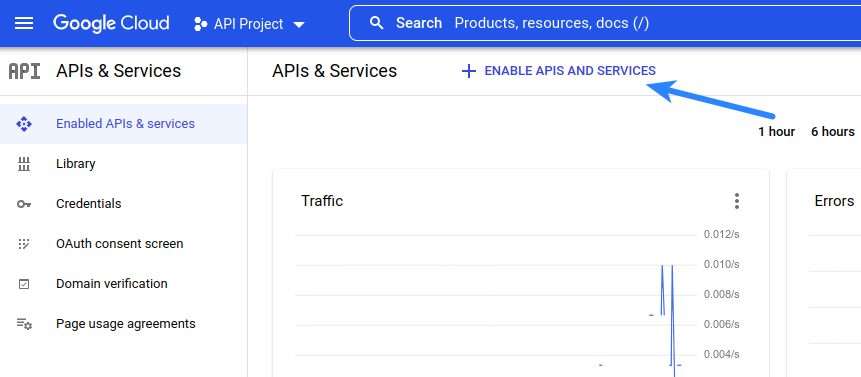
- If you want to integrate Youtube login follow the remaining steps. Navigate to the Enable APIs and Services section
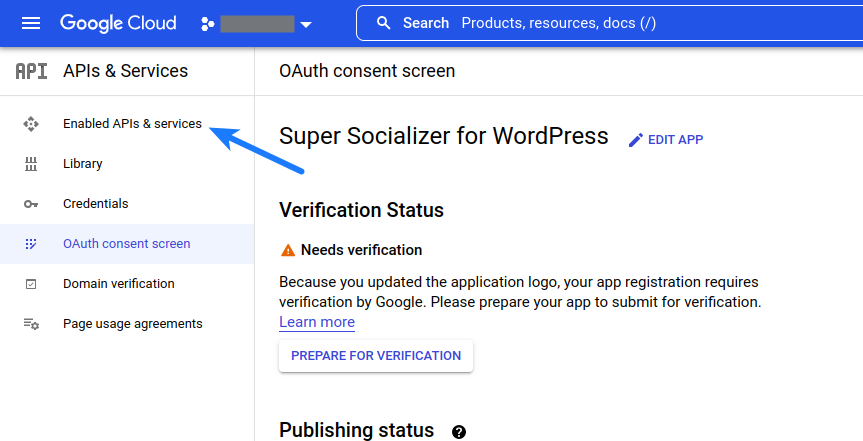
- Click Enable APIs and Services
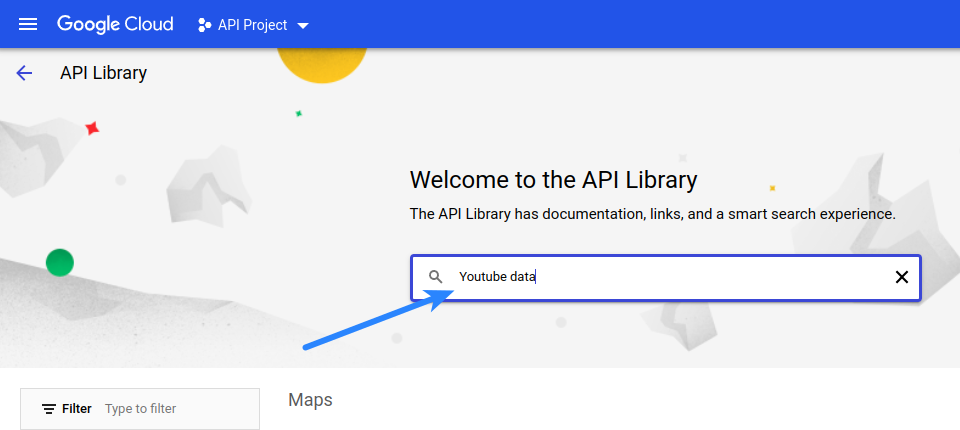
- Search Youtube data
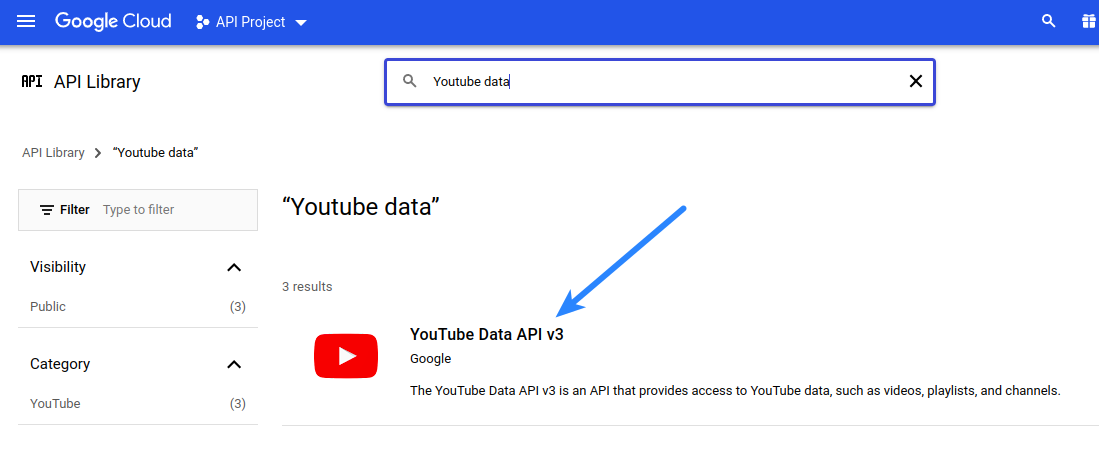
- Click Youtube Data API V3 in the search results
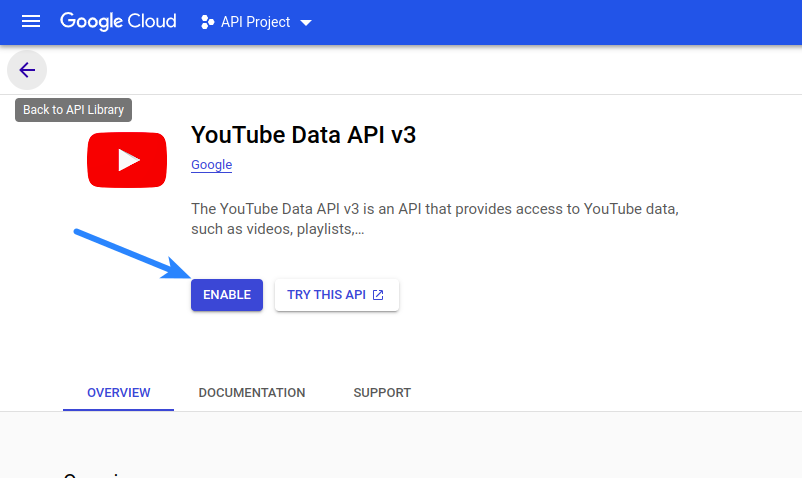
- Enable Youtube Data API V3
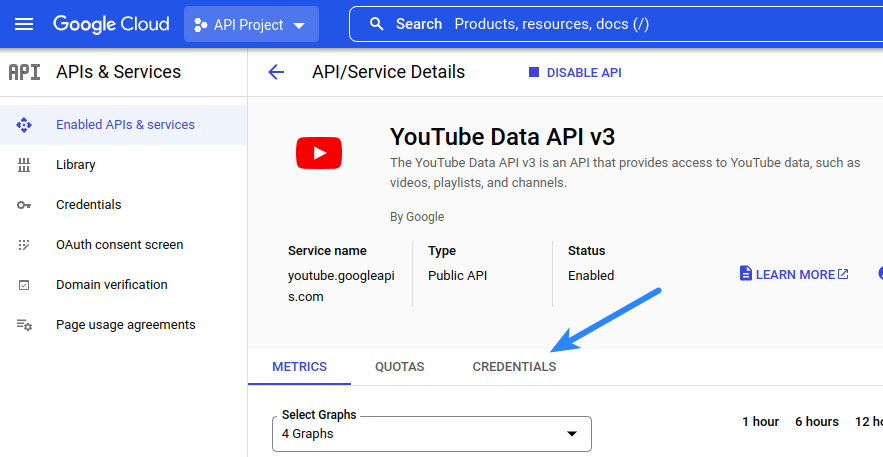
- Click Credentials
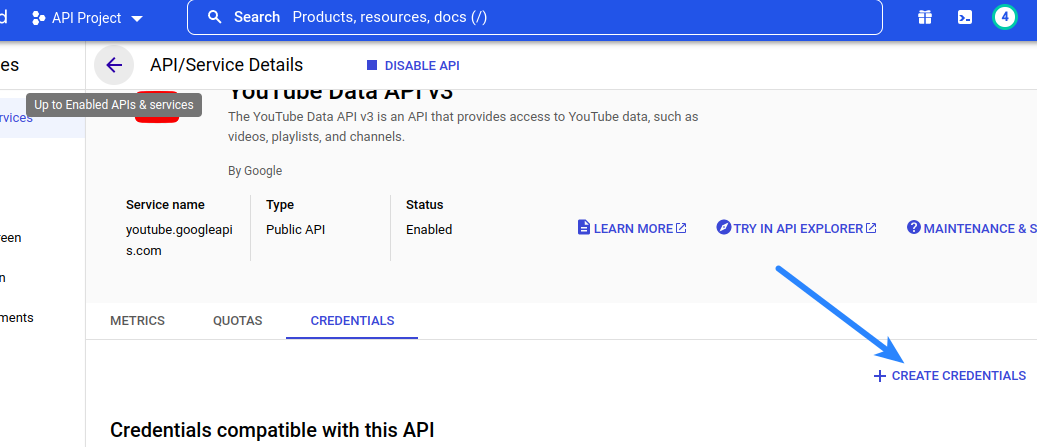
- Click Create Credentials
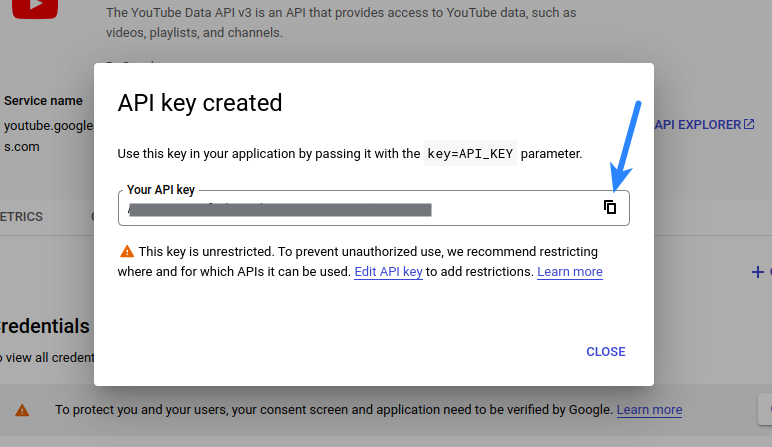
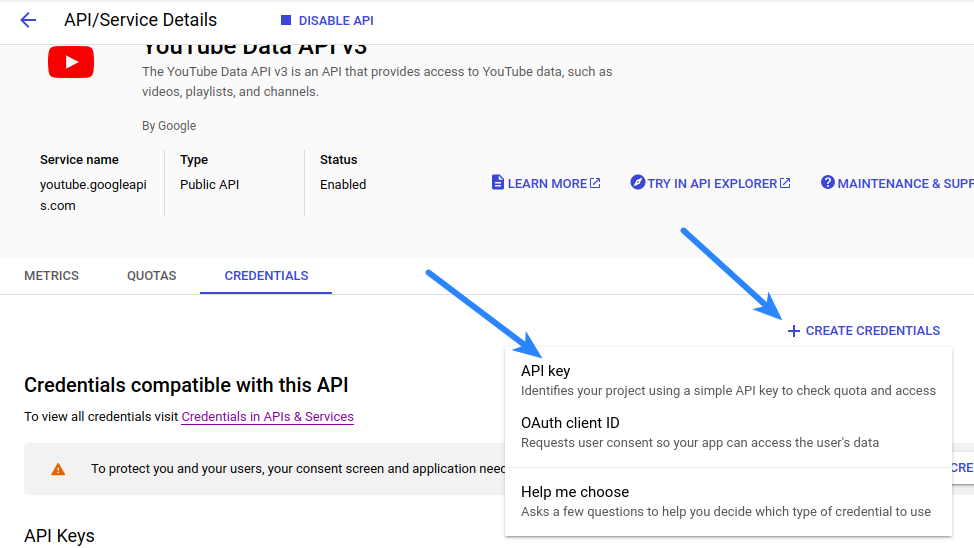
- Click API Key
- Copy Youtube API Key and paste in the relevant option in the social login section in the admin area